A bit of history, we are at the end of April 2020, the french gov has pronounced a complete lockdown of the country, and we receive a crazy brief from an unknown potential client. It’s a pitch with multiple agencies. As usual we asked many questions about the project…
MM: Have you listed your decision making criterias and their hierarchisation?
KODE: My criteria is to look for the best reputation/track record and you score high on that one :); of course sticking to the budget and timeline is important as well.
MM: What is the deadline to send our proposal and what will be the presentation mode? I.e. with or without remote live presentation?
KODE: Early next week. I know it is a bit tight…
MM: 😅
Only a week to make an entire presentation, with concepts and ideas, mockups… Super short deadline but we made it, and after a bunch of very friendly and thoughtful discussions with the client, we ended up winning the pitch!
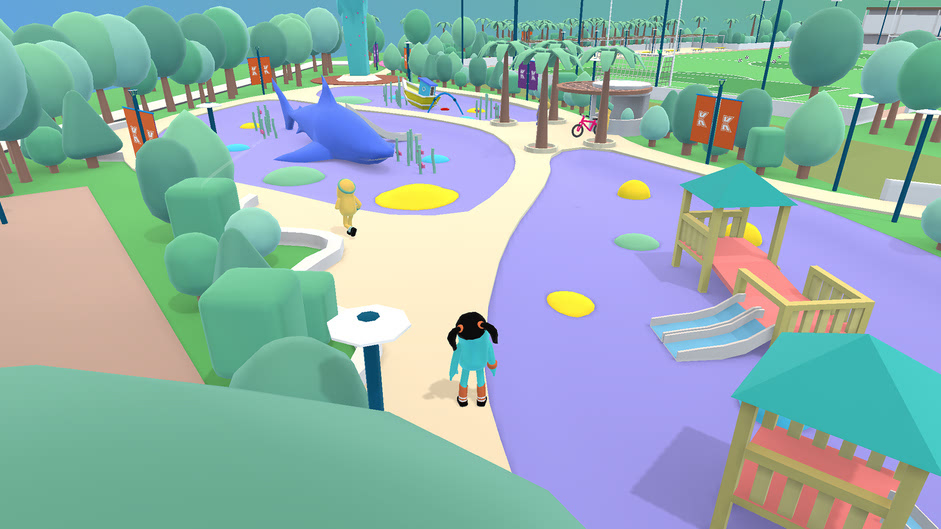
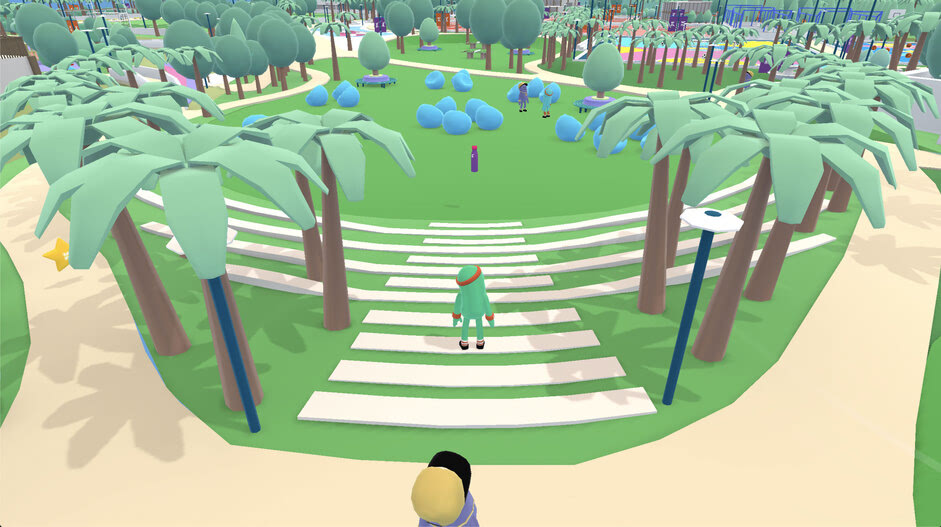
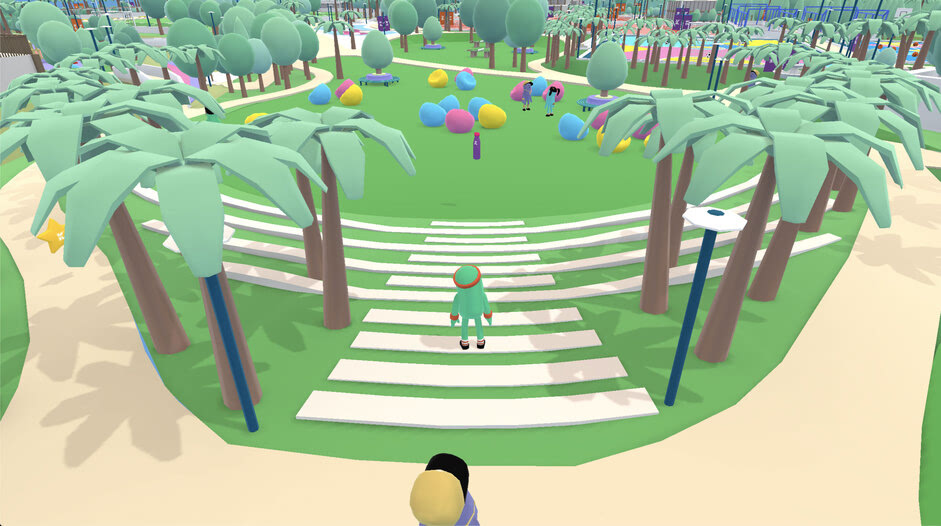
Your character
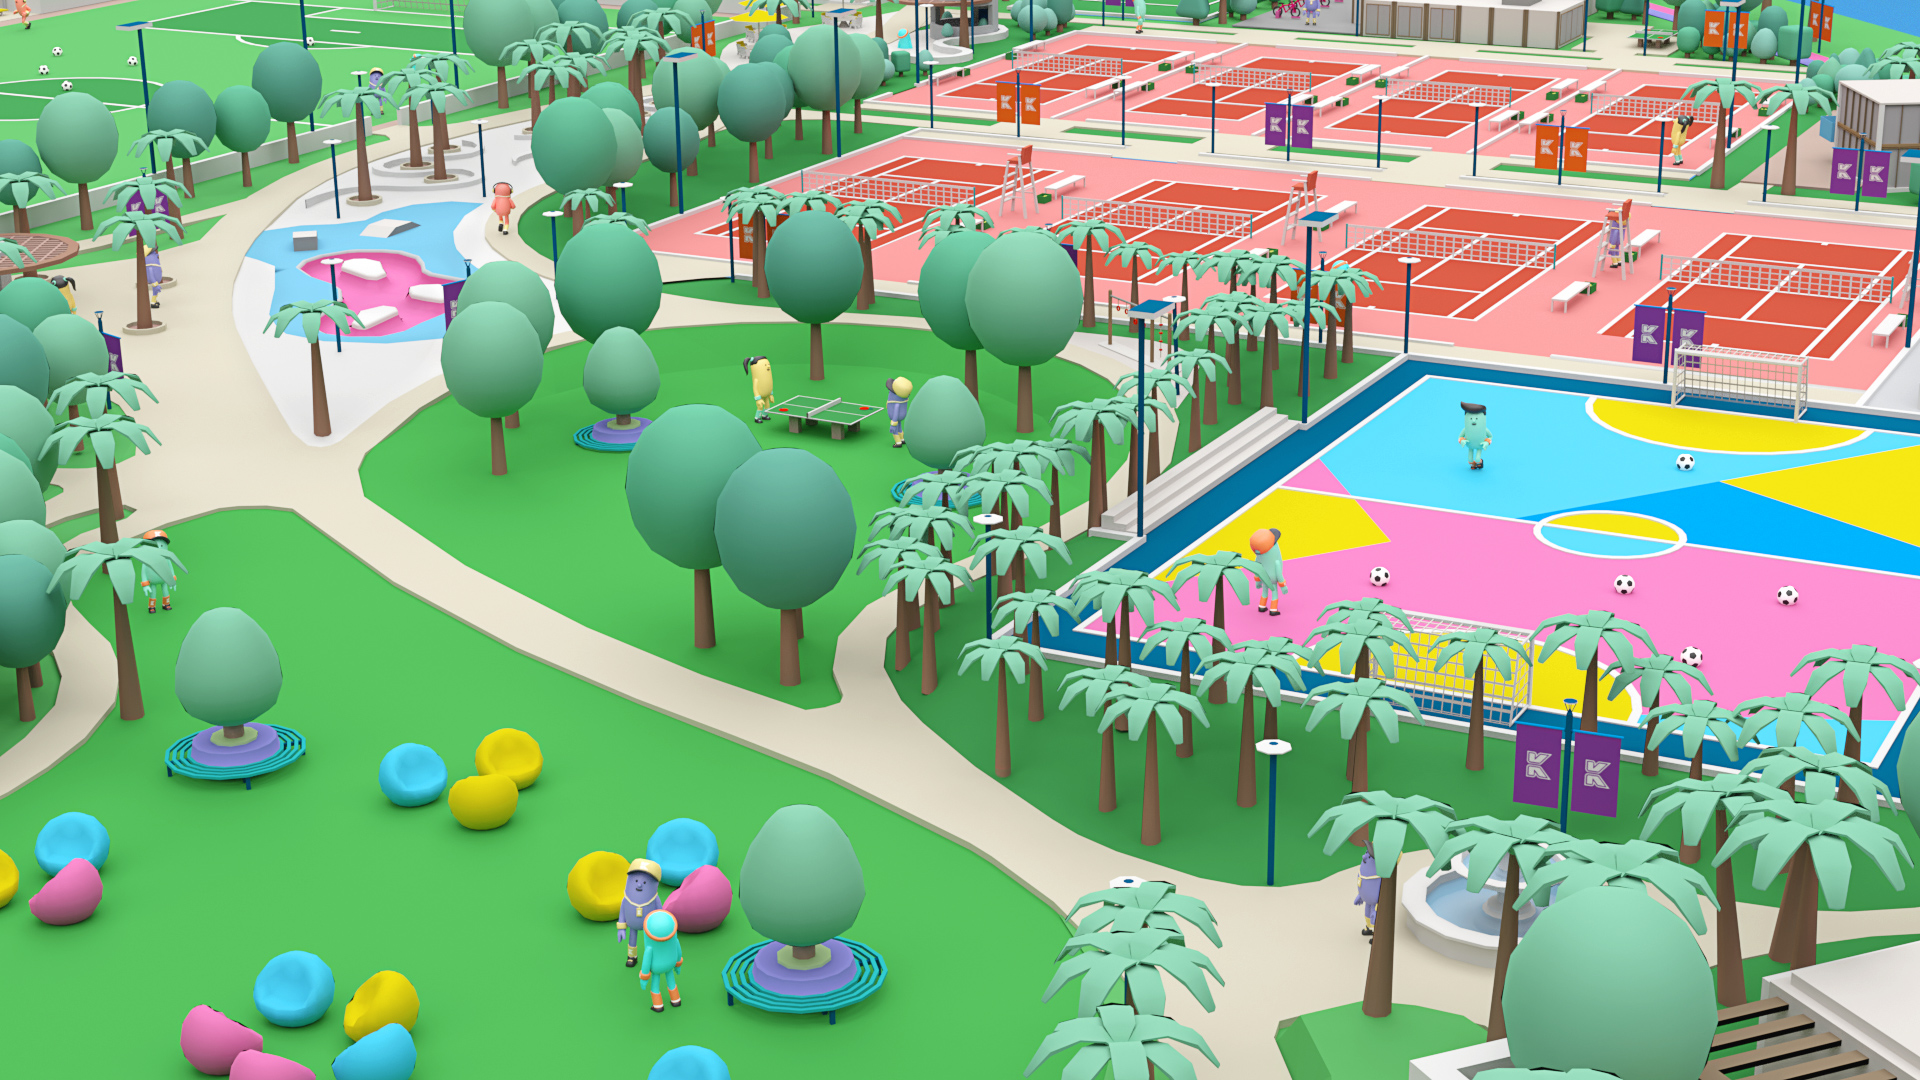
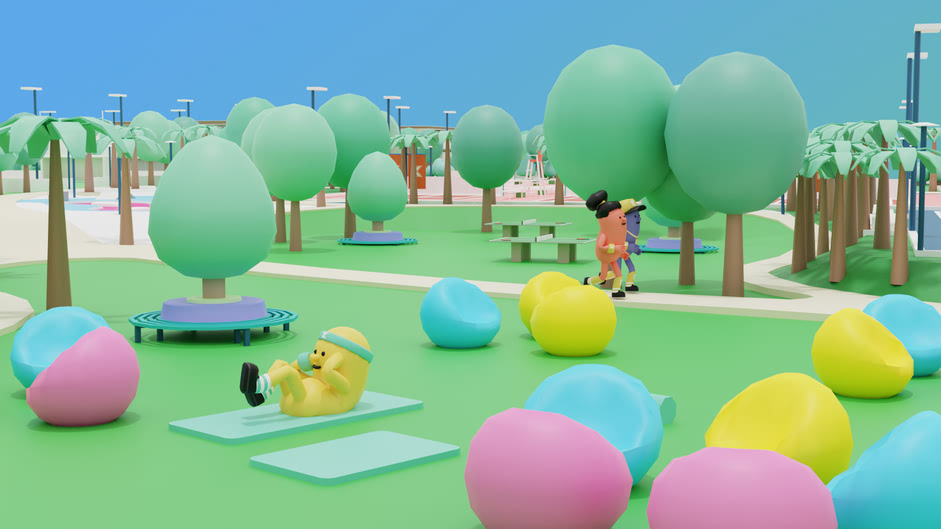
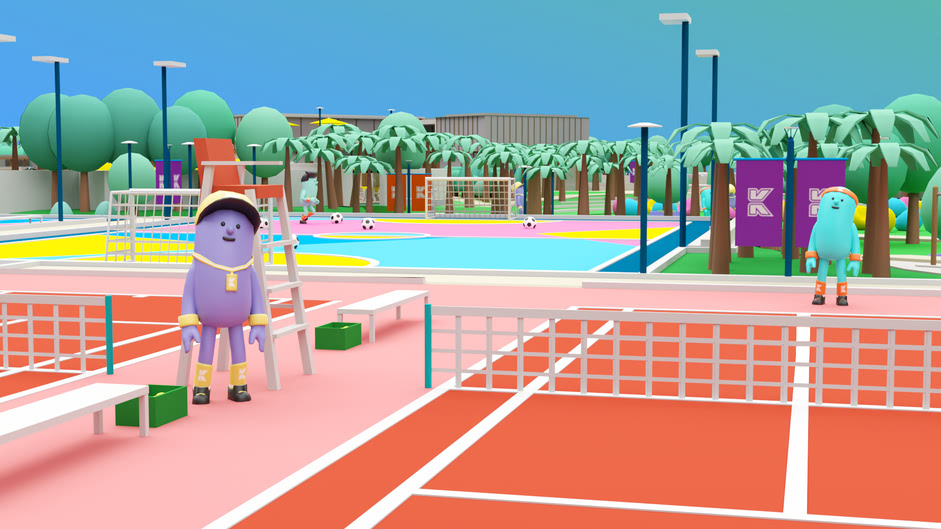
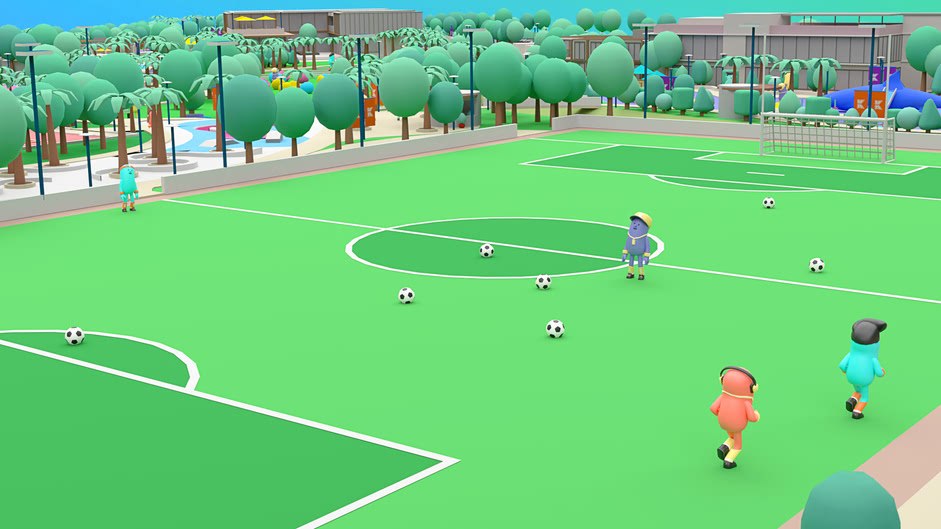
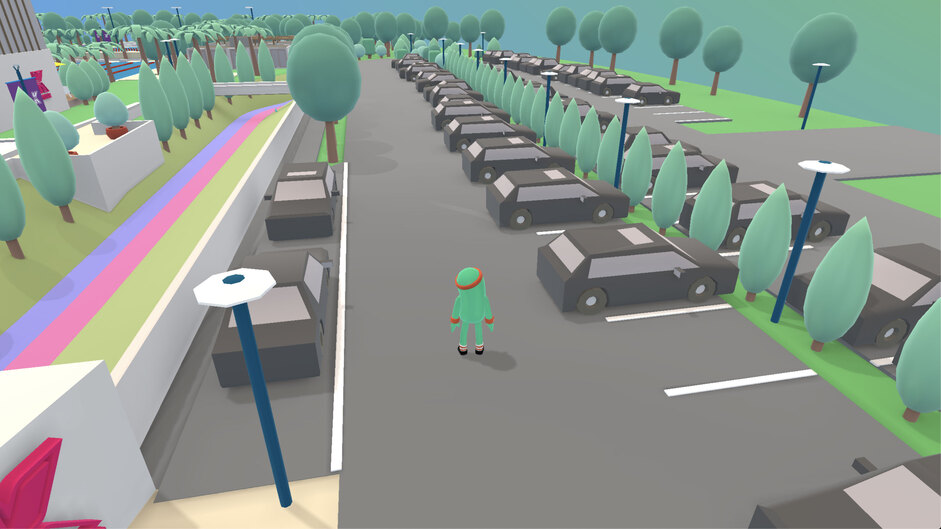
As a user, you embody an offbeat and colorful (customizable) character that can roam around in the virtual Club, going through different challenges and achievements. The entire visit is then turned into a playful quest, in which you can unlock achievements and medals that convey KODE’s values. We wanted the characters to be fun and to speak to any kind of user (kid or adult). We also didn’t want them to have a recognizable gender or to look too much human, in order to get away from all kinds of gender and ethnicity considerations.
Navigation
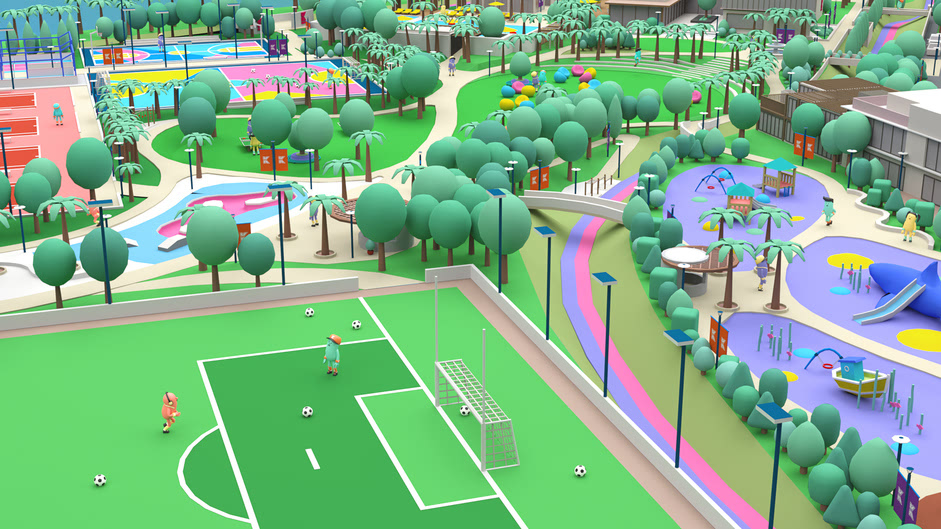
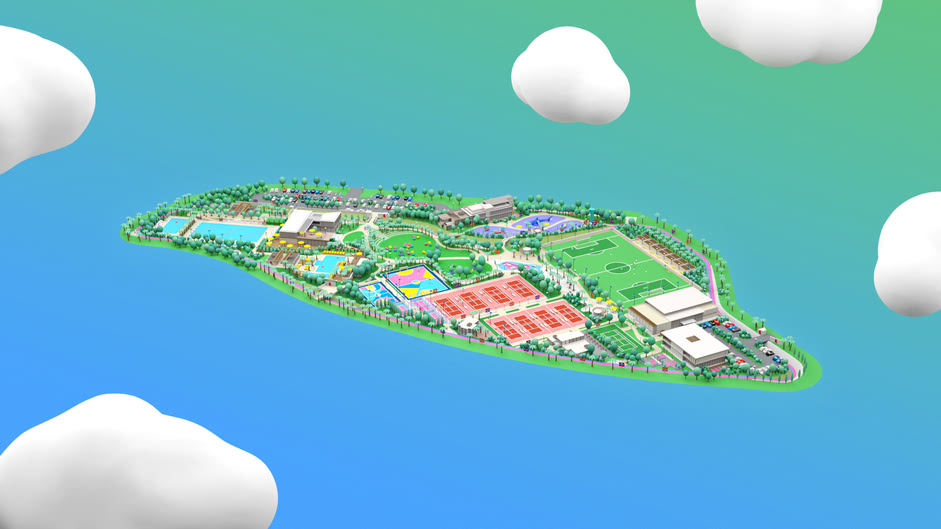
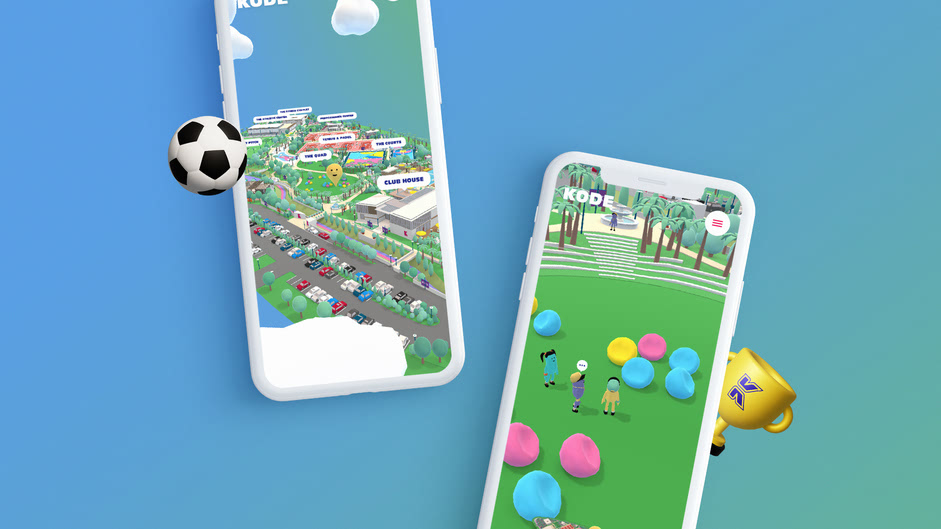
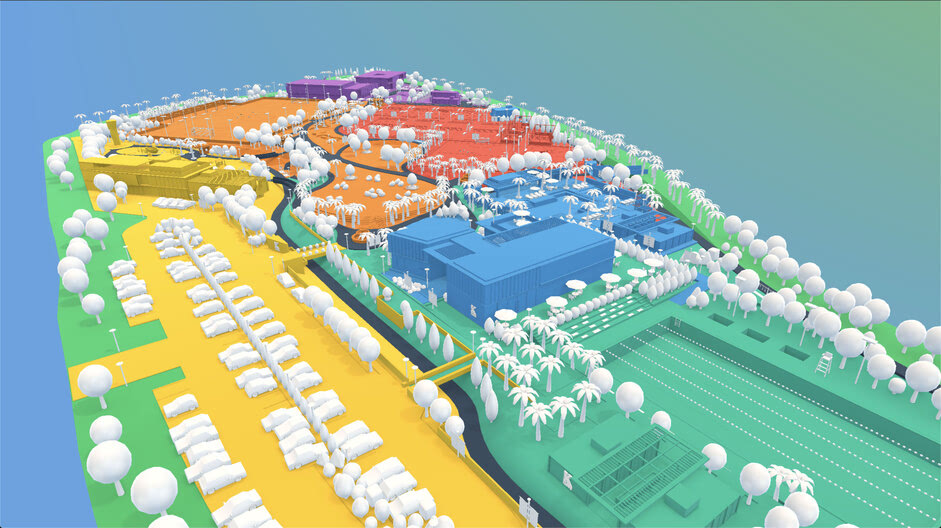
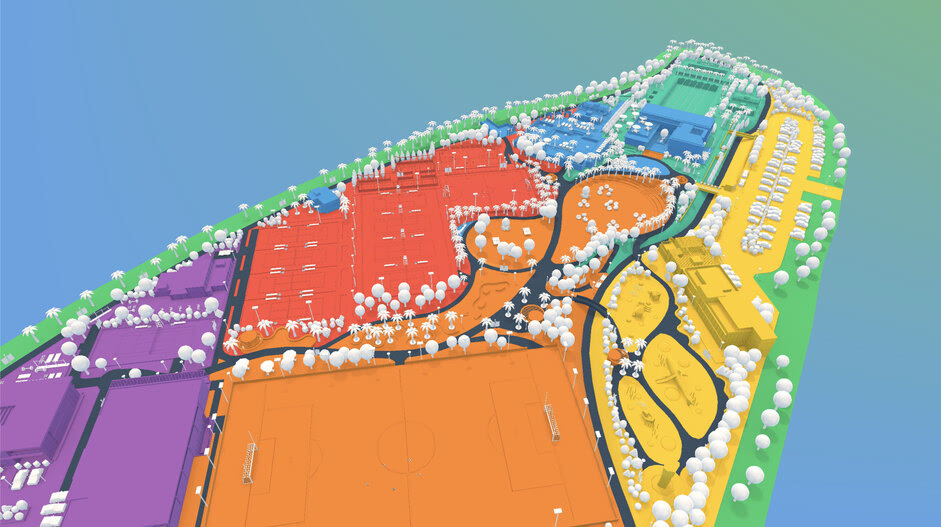
Our objective has been to be able to go back and forth between a 3D bird view of the Club, as if it was a leaflet that gives the overview of the place, and also dive into the different zones to explore them. We wanted the navigation itself to be very fun and to give the “wow factor” when using it. We think that the job is done and it works for the entire family, parents and kids.
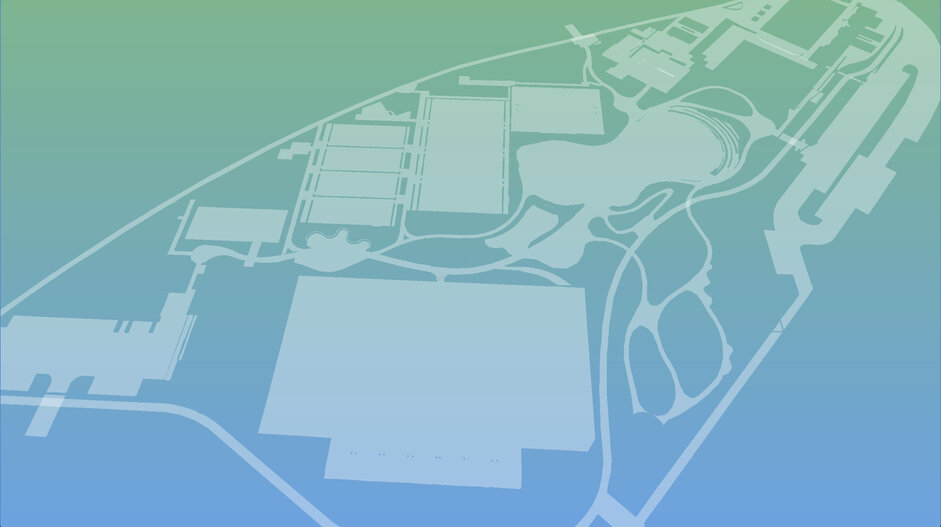
Optimizing 3D assets
With a scene that big (one of the biggest we’ve created so far in webGL), one of our main concerns was to load it in a minimum amount of time. Usually we aim for a total size under 10MB for the first load, but the geometry of the map alone already had a size of 12MB, because we had many 3D duplicated elements.
We thus chose to replace them at export, with empty objects. As such, we just kept the information needed to initialize each object properly (position, rotation and scale), and thereby saved as much as 4MB of weight. In order to do that, we used Blender’s Python scripting API, which is a real breeze to work with. Moreover, this interface was useful to export the curves needed for the characters movements, which are not exported by the default glTF exporter.
In addition to that, the Draco mesh compression from the Cesium glTF pipeline was used to reduce the file size even more, to a convenient size of 2MB for the entire map. Blender also has a built-in Draco compression tool, but we had better results with the other one. In the end, with everything included (scripts, styles, audio, models, etc…) and gzip compression, the experience weighs only 7.6MB at first load, which we found was “quite decent” for a mobile use.
Instancing and merging for performance
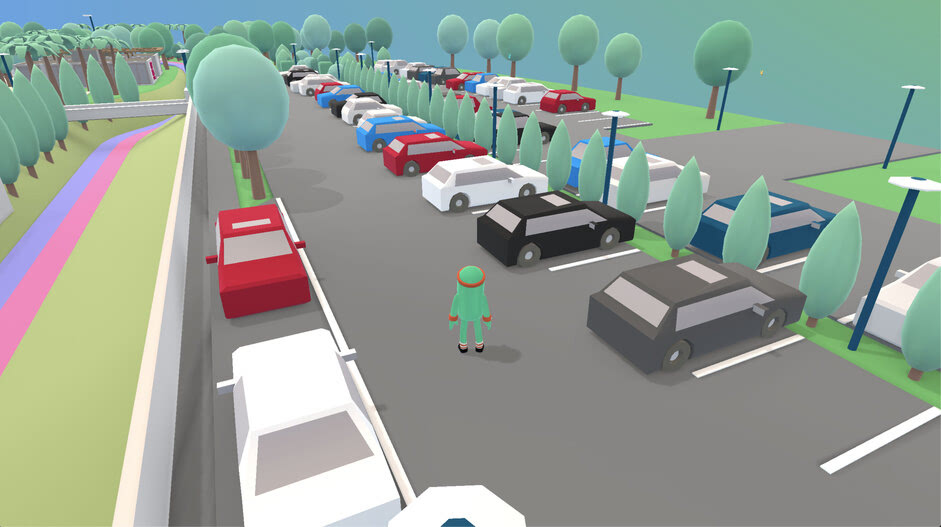
With all our assets loaded, we had then to render it at an acceptable frame rate. This usually means finding the right balance between the number of draw calls and the number of polygons visible on the screen. All unique elements, such as buildings, sport pitches, swimming pools, and the ground, were then merged into 8 blocks, according to their positions in the map. This principle allowed some parts not to be drawn when outside the camera frustum.
Blocks were also defined with other practical reasons in mind, such as optimizing the UV layout, to have the best ambient occlusion’s definition for each element.
For the other duplicated elements (such as trees, ladders, and cars), we first tried to use instancing with different grouping schemes, to be able to use frustum culling when possible. This interesting technique was considered as well, which is some kind of camera frustum relative instancing. Despite using these techniques, because we wanted many different types of objects for the world, to feel varied and exciting, we had yet too many instanced meshes and therefore too many draw calls…
As we wished to have uncut transitions between the overview of the map and the character’s third person control, we finally settled on simply merging all these elements into one single big mesh. We found this was the best overall solution for performance, according to the specificities and constraints of the project.
Color variations
Again, with the aim of giving the scene more variety, we wanted some elements with the same geometry to have different shades of colors but still be merged onto this one big object.
To avoid overcrowding the only texture we had for all the colors of the map, we didn’t choose to dynamically transform the geometries textures coordinates before merging. Instead, we went with a more flexible approach for our purpose and used the alpha channel of the texture as a mask for our variations.
A similar technique was used for the different color combinations of the characters. This time however, because of the character’s texture containing several different colors, 3 different channels were needed to transform the tint of the correct areas.
The red and green channels apply colors defined with constant uniforms and the blue use the default colors of the left part of the texture. The mask and default colors maps are combined into one texture which is read twice in the shader with different offsetted coordinates.
vec2 coordinates = vUv;
coordinates.x *= .5;
vec4 defaultColor = texture2D( map, coordinates );
defaultColor = mapTexelToLinear( defaultColor );
coordinates.x += .5;
vec4 mask = texture2D( map, coordinates );
diffuseColor.rgb *= mask.r * mainColor + mask.g *secondaryColor + mask.b * defaultColor.rgb;
Shadows
For rendering shadows, pre-rendering them for static objects was not an option. Even with 4k textures for each of the blocks, the quality of the result was not quite satisfying and did not really counterbalance the additional amount of data to compute and load.
Even if the results of cascaded shadow maps might have looked nice, the number of draw calls that it would have added was out of the question for us regarding the quantity of objects and polygons we had to render. Therefore we opted again for the simplest solution, which was to render only one shadow map but fade its edges to transition smoothly between shadowed and unshadowed objects. We found that the result was much better this way.
With three.js, it is as easy as changing these few lines in the shader code:
--- lights_fragment_begin ---

#if defined( USE_SHADOWMAP ) && ( UNROLLED_LOOP_INDEX < NUM_DIR_LIGHT_SHADOWS )

directionalLightShadow = directionalLightShadows[ i ];

// directLight.color *= all( bvec2( directLight.visible, receiveShadow ) ) ? getShadow( ... ) : 1.0;


shadow = all( bvec2( directLight.visible, receiveShadow ) ) ? getShadow( ... ) : 1.0;
weight = clamp( quarticIn( length( vDirectionalShadowCoord[ i ].xy * 2. - 1. ) ), .0, 1. );
directLight.color *= mix( shadow, 1., weight );

#endif
When switching to the overview of the map, the size of the shadow camera animate to a much bigger size in order to include the whole scene.
For the final look, multiple layered shading techniques were used:
- First, a subtle color gradient along the vertical axis was created with a hemisphere light.
- After that, we added a rim light to the standard mesh material shader in order to slightly contour and contrast the objects between them. We also implemented a mat cap to add more interesting lighting nuances, and ambient occlusion, because it looks cool :)
Controls
Our first idea for the controls of the character was a simple point and click interaction with pathfinding to facilitate the navigation of the user within the park. We generated the necessary navigation mesh with both Blender and Unity: this is essentially a simplified version of the map with faces where the characters can go and holes where they can’t. Unity gave us the best results thanks to its several options to adjust the aspect of the generated mesh.
For the pathfinding algorithm we used Don McCurdy’s awesome library.
However, because of the complexity of our navigation mesh, sometimes the algorithm returned us unexpected results. After multiple attempts to fix it, we chose to move on and drop this first solution.
To simplify the control we decided that it would probably be better to let the user roam freely in the park, instead of letting him only move on the designated path. From there, we opted for a classic joystick control.
This solution was not entirely satisfying either, because it made u-turns too difficult. It could have been more manageable with a second joystick, but this would perhaps be too complicated for non-gamers. With a fixed rotation camera, controlling the character was easier, but less immersive, and the point of view was not displaying the beauty and spaciousness of the environment very well. We thus ended up going back to our first idea, but discarded the pathfinding algorithm. Finally, to avoid unnecessary computations, clicks were only raycasted on an abstract horizontal plane, instead of a nav mesh.
To get the altitude of the characters on the map — which has different elevations and bridges — we kept the idea of a simplified nav mesh, as raycasting on simpler objects is less costly in terms of performance. A simple plane was obviously not viable in this situation…
Each face of this mesh was sorted in a 10x10 grid along the x and z axes, according to their centroids. After this, intersections of the ray were only tested against the faces included in the cell containing the character’s position. It’s a very straightforward spatial partitioning technique — similar to grid broad-phase used in physics engines — and yet, with some additional filtering conditions, was really effective at reducing unneeded raycasting tests and saved us a lot of computational cost. For the same reasons, we used it to add or remove physical elements in the scene when the character is wandering around in the park.
End ;)
Try it on: https://kodeclubs.com
Company Info
Merci-Michel is a french award-winning digital production house, based in Paris, France.
Visit our website: https://merci-michel.com
Follow us on instagram: @mercimichel