


Let’s say you have an awesome idea, but you feel stuck because it requires some hardware prototyping. Fear no more - with some basic coding skills, we can take this problem and turn it into a fun weekend.
First things first: What board is going to be the heart of your project? Let’s take a look at some options, pointing out their strengths, so you can choose what fits you best.
If you want to build a self-contained piece of hardware that only requires you to read a couple of sensors and show an output, Arduinos are a good option. They are fairly easy to learn/ pick-up and a great choice for simple prototypes. Just note that they do not have the most powerful chips, and anything more complex will require you to add a shield on top of it.
On the other hand, if you have web integrations or graphics processing in mind, Raspberry Pi or a BeagleBone will work best. These small pieces of silicon run chips that clock in at 1.2GHz and 1GHz respectively, and have up to 1GB of RAM!
Arduino
If you do decide to go with an Arduino, there are a few options. You can get away with a regular Uno board for general prototyping, but you’ll need a Mega to plug in more components. If your goal is to create a wearable, the best choice is a Gemma.

Arduino also includes a simple, yet powerful IDE with lots of code samples. This allows you to get up and running pretty easily.
Keep in mind that only using the board will not be enough for you to build your project. You’ll also need sensors (more on that later) and potentially a couple of stackable shields. Here are some good resources to look for shields, And don’t forget a power adapter. Otherwise, you’ll have to keep it plugged into your USB port.
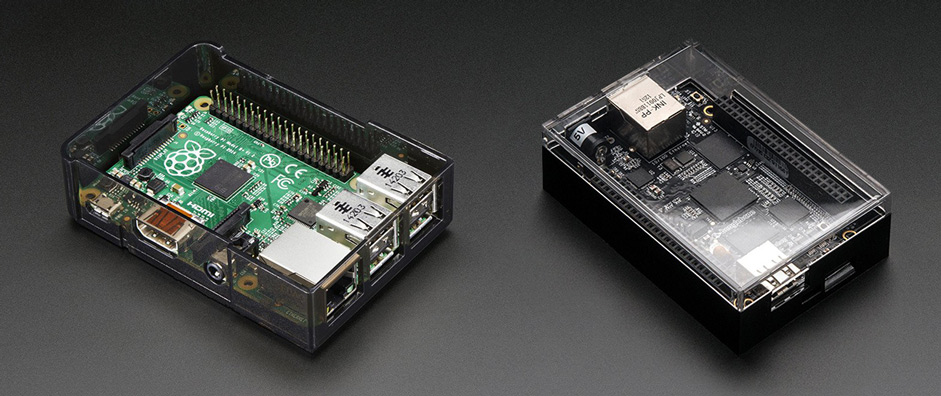
Beagles and Raspberry Pis
These are the hottest boards you’ll find on the market right now. They contain ARM chips with clocks similar to your phone, a decent amount of RAM, and more pins than an Arduino. The Pi 3 also has built-in WiFi and Bluetooth - perfect for your IoT project.
Since you’ll need to run Linux, you can use pretty much any environment. Just choose the one you’re most familiar with: Python, Node.js, C++, Java, PHP or anything else Tux can run will work. Turning ssh on may also prove useful as it will enable you to work from your laptop and transfer files using scp.
And if you are like me and want to make your final product as beautiful as your code, you can buy a fancy case or build your own with a GameBoy or NES cartridge.
I’ve got my board, what now?
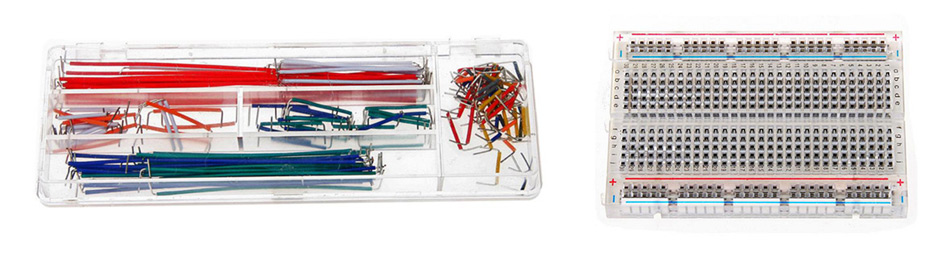
Before you start adding sensors to your board, there is one important thing to note: You don’t need or want to solder components while you prototype. It’s tedious and you’ll definitely need to move components around. Get a breadboard and some wires... actually, lots of wires... in different colors!
Sensors Sensors Sensors
I could summarize this section with two links: Adafruit and SparkFun. But, here’s a short list some other cool links that may inspire you as well:
Just be careful while wiring things up, you may burn your components if you don’t have the right resistors. In case you don’t know which ones to buy, buy them all, they are super cheap and it’s useful to have some extra resistors available.
Hands on!
Need some extra inspiration? IFTTT has some great examples of things you can do! And both Adafruit and Sparkfun have sections full of cool projects that will let your inner geek out.
Go for it!